Accurate cutting is the basis for good sewing. It is the foundation that you build everything else on, and if you master getting it right first time you will save a lot of time later!
Accurate cutting your fabric gives you a decent line to follow when sewing, and makes sure that your seam allowances are correct and that everything will nicely fit together.
Trimming blocks like Half Square Triangles can seem laborious but you will be greatful when all those intersections line up beautifully as you piece your blocks together!
So how can you make your working more efficient by starting with good foundations?
Location
- Find somewhere comfortable to cut! Bending too much can cause back pain and will affect your accuracy as well as your enjoyment of cutting.
- Make sure that your surface is flat. Bumps underneath the mat will prevent even pressure being applied to your cutting.
- Good lighting is always important – you need to be able to see the markings on your ruler!
Tools
- Make sure that your mat is big enough for the fabric that you want to cut. Too small a mat will mean that you have to fold your fabric a number of times and can lead to kinks in your straight lines. 18 x 24 inches is the best size because it will fit a fat quarter without overhang and it is manageable for carrying to workshops. A larger mat is great but impractical as a primary mat – leave this one in your sewing room.
- Make sure your mat is clean at that there are not too many grooves cut in it where you plan to cut. Though they are ‘self-healing’ – constantly cutting in the same place will create ridges and these affect accuracy. Wadding is the worst for ruining your mat. I got this tip for extending the life of your mat from an Olfa mat website – I haven’t tried it yet so let me know if you do!
- It is recommended that you soak your mat from time to time. Your self-healing mat loves moisture. To soak it, put your mat in a bathtub or large container (would have to be large so it can lay flat) and soak it for 15-20 minutes in a solution of 1/4 cup white vinegar to every gallon of cool water. Let me repeat, cool water. Do this every so often to help extend its useful life. Then use a squirt of mild dishwashing soap (Ivory) and clean the mat with a soft brush. The purpose of this gentle scouring is to remove the fibres that get trapped in the cuts marks preventing the cuts from "healing".
- Store your mat flat and keep away from heat – heat will make it bow out of shape which is really tricky to fix and will make decent cutting impossible!
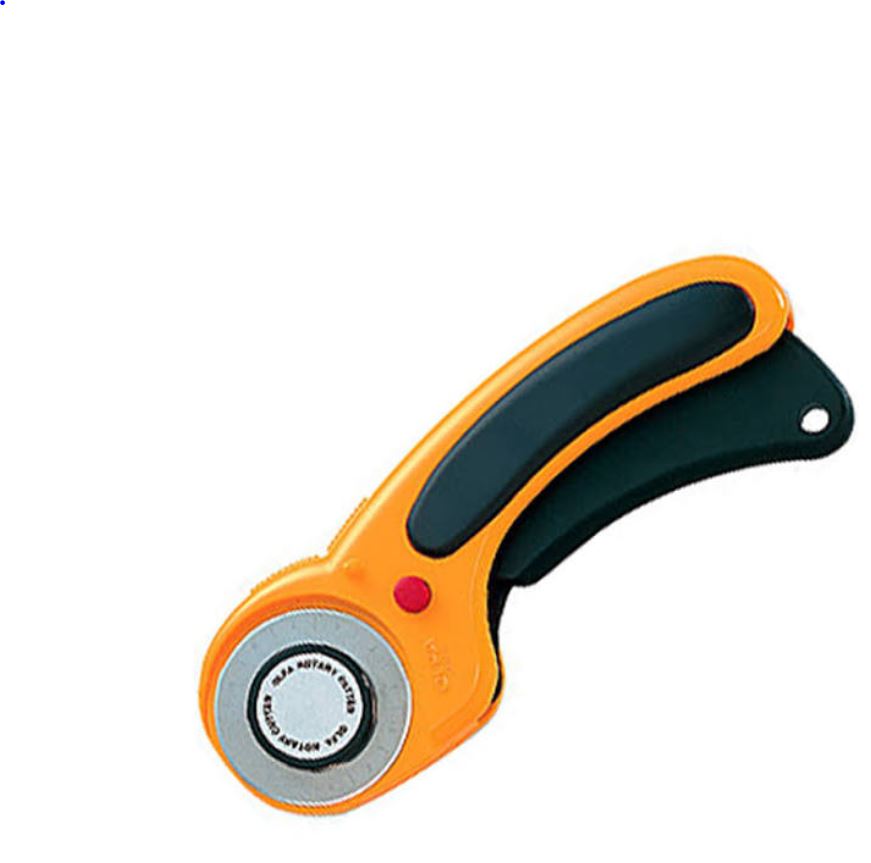
- Rotary cutter. Choose a cutter that fits comfortably in your hands. If you are left handed make sure that you have one that is adaptable to your needs
- Blades. Always ensure that you have a sharp blade. A blunt blade can spoil the edge of the fabric and frustrate you. It can also make you ‘wobble’ as you apply extra pressure to get a decent cut. If you miss a spot at regular intervals, you have probably run over a pin at some point and ruined your blade. Replace it.
- Pay attention to safety. These rotary blades are sharp and should be treated carefully! Always cover the blade when not in use – and ALWAYS cut away from your body!
- Use the right ruler for the job! Trying to cut small squares with a large square can be clumsy, and cutting a large square with a small ruler is tricky to do accurately.
Listen for the ‘woosh’
- When you cut fabric, you can hear the blade cutting through the layers – it makes a ‘woosh’ sound. If you can’t hear it, you are probably not cutting!
- Do not move your ruler until you are sure that you have cut the fabric all the way because it can be hard to line it up again later.
Practice!
- You will only learn how much pressure to apply when cutting by practicing! You shouldn’t need to work up a sweat – if you do, then you may need a new blade!


Smooth
ReplyDelete