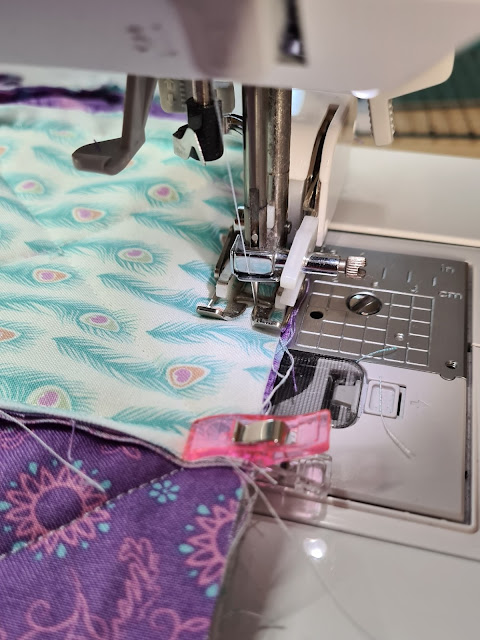
This easy pattern is a great example of a textured quilt. Using 5 inch squares you can make this fun project with fuzzy edges that only gets better the more you wash it!
This is a fabulous quilt as you go project which you can continue adding to until it reaches the size you want! This samples is 27 inches square but you can just keep adding to it!
This is great for beginners and improvers because it is simple to do and it goes together so quickly that you will have a finished quilt in no time! The joy is that you don’t even need to bind it.
Requirements
- A selection of fat 1/4s.
- Walking foot.
- Quilt marking pen (wash away or air erasable) or quilting tape for marking quilt lines.
Making your blocks
For each block you will need a 5 inch square of the front fabric, a five inch square of the backing and a 4 ½ inch square of wadding. This pattern works especially well as a double sided quilt so think of this when you cut your squares. This samples is 6 x 6 blocks so you would need 72 squares of fabric and 36 squares of wadding.
Place one of the pieces of wadding in the centre of your backing fabric. It is smaller than the backing fabric so make sure it is centred.
The wadding is smaller than the outside pieces of fabrics so that the wadding does not show through in the seam allowance once we have finished our quilt. Then place the top piece of fabric on top, lining up with the backing piece. Baste these layers together to stops them oving as you sew them.
Using the walking foot, stitch diagonally across the block. It is a good idea to mark the diagonal lines prior to sewing in order to keep them straight. You can use a removeable fabric marker or quilter’s tape to help you. Repeat with all your blocks.
Constructing your quilt
Lay out your blocks in a pleasing manner.
Put your blocks wrong sides together. This means that the raggy seams will be visible on the front of the quilt and this is what we want. Sew together with a ¼ inch seam allowance. It can be useful to use clips rather than pins to hold everything in place because there is a lot of bulk in these blocks and pins can struggle.
Once you have completed the rows, sew the rows together,
ensuring that all of the seams are on the front of the quilt.
Once you have finished the quilt, sew all the way around the edge of the quilt with a ¼ inch seam allowance.
Now the fun starts. Get yourself a pair of scissors that are sharp to the tip and snip into all of those visible seams. Snip every ¼ to ½ inch on every raw edge – the more you snip the raggier the quilt will be.
Now wash your quilt and tumble dry it. The more you wash it, the softer and more textured it will become!


No comments
Feel free to let me know what you think!